secret_chef
Secret Chef
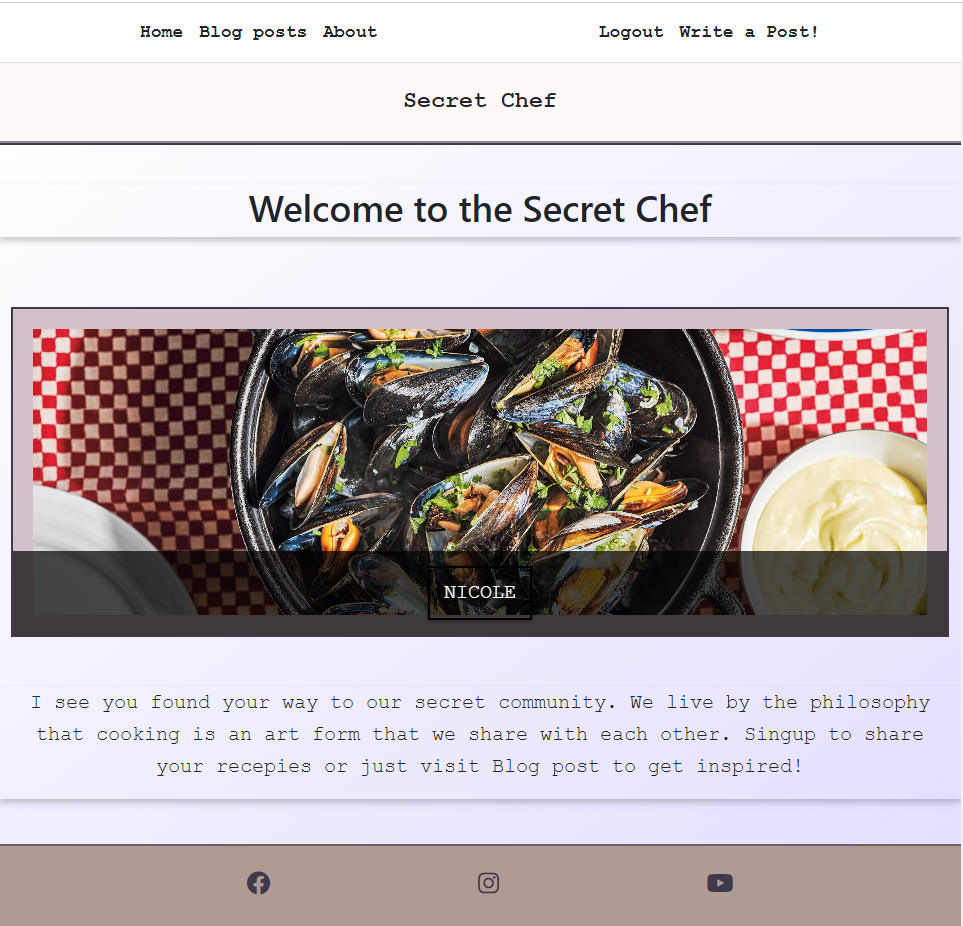
The Secret Chef is a blog for people to gather around and share their best recipes, but also to experience new flavors as they go along. Anyone can visit the site and get inspired by the blog post pictures of homemade dinners. If you then choose to be a part of the Secret Chef community, you can also share your own tips. And just in case you change your mind about a recipe or if you have improved it, you are also able to edit or delete your own blog posts.
To keep the imaginary flavors on the page, all photos from the blog posts render in a slideshow on the front page.
View Secret Chef on Heroku Pages
CONTENTS
User Experience (UX)
Initial Discussion
The proprietor of the esteemed Secret Chef blog aspired to forge a community that celebrates the oft-overlooked realm of culinary artistry, where extraordinary flavors intertwine and caress the senses, transcending mere gustatory delight. In a world where culinary excellence remains underappreciated, this sacred platform beckons gifted Secret Chefs to unite and showcase their cherished recipes, while also embarking on a journey of inspiration and discovery, honing their craft with novel and divine gastronomic delights.
Key information for the site
- Anyone can join.
- Anyone is welcome to take part in the lovely recipes.
- Users can write blog posts.
- The admin decides what is getting published to keep track of relevant data.
User Stories
User Goals
- To have a responsive blog that works well on various device sizes.
- To easily create an account and create, read, edit, and delete blog posts.
- To have the option to save account information for convenience during future visits.
- To view pictures of the recipes.
- To register, log in, and log out with ease.
- To view all posts.
Admin Goals
- To easily manage and modify posts by editing, adding, or deleting them.
- To view users’ recipes and decide whether to publish them or not.
- To easily create their own blog posts.
Design
For the color palette, I used Coolors. Instead of trying to match up the colors, I went through the site and found this palette amusing.
Imagery
I plan to use vibrant and enticing food imagery throughout the site. This will include high-quality pictures of the recipes shared by users, showcasing the mouthwatering dishes and their appetizing presentation. Additionally, I aim to incorporate visually appealing graphics and illustrations that complement the overall theme of the blog and enhance the reader’s culinary experience.
Features
-
Much of the styling on the site is achieved with the aid of Bootstrap classes. One of the most appealing aspects, in my opinion, of using Bootstrap is its ability to format elements into responsive columns, making the design look fantastic on any screen size.
-
This project relies on Cloudinary storage, allauth, and Summernote to make it possible.
-
Elephant SQL plays a crucial role in facilitating the seamless exchange of data between the application and the database.
-
In case a blog post lacks a picture, there is a backup image of food that will be displayed, ensuring that the post maintains a consistent and attractive appearance.
-
Leveraging Django forms, I also incorporated user-friendly messages that appear after registration, login, and logout events. Additionally, these messages are programmed to disappear automatically after a short duration using JavaScript, providing a smoother user experience.
General features on each page
Navigation Bar
- The navigation bar includes responsive links to the home, blog posts, about, login/register/logout and write a posts page.

Header- Seret Chef!
- The header containes the applications name

Footer
- The Footer has navigation links that opens in a new window when used. One to our Facebook page, one for Instagram and one to our youtube chanel.

These elements are constant on each page for easy navigation.
Future Implementations
- For the future I would like to update the blog post form to make it render the post diffrently. I would like the content area to render into two part. One where each ingredience with the measurments renders into dots. Then I would like the step by step to appear the same way. Instead of just being one longer text.
- I would also implement a like function that makes blog post appear higher on the site.
- Users should also be able to comment and keep a conversation on each post.
- The images users adds to their posts renders in the slidshow before admin approved the post which I would like to remove.
- I would also like to have all posts in the same size and instead have a show more or show less button.
- When editing a post you can use a link to see the photo that has been used, I would like that photo to open in a new window or render as a preview.
Accessibility
I have been mindful while coding to ensure that the website is as accessible-friendly as possible. I have achieved this by:
- Using semantic HTML.
- Implementing meta tags.
- Testing the page on various screens and browsers.
Technologies Used
Languages Used
HTML, JavaScript, Python and CSS were used to create this website.
Frameworks, Libraries & Programs Used
Git - For version control.
Github - To save and store the files for the website.
Bootstrap - Framework and features on the app like the view and dropdown menus.
Heroku - Deploy of application.
Elephant SQL - For managing PostgresSQL databases.
Font Awesome - For the iconography on the website.
Google Dev Tools - To troubleshoot and test features, solve issues with responsiveness and styling.
Favicon.io To create favicon.
Deployment & Local Development
Deployment
Creating a app on Heroku
(This explanation of creating a heroku app is described by AJ Greaves )
When you create the app, you will need to add two buildpacks from the Settings tab. The ordering is as follows:
heroku/pythonheroku/nodejs
You must then create a Config Var called PORT. Set this to 8000
If you have credentials, such as in the Love Sandwiches project, you must create another Config Var called CREDS and paste the JSON into the value field.
Connect your GitHub repository and deploy as normal.
Deploy app on Heroku
Heroku was used for deployment and here are the steps for deploying.
-
Sign up for a Heroku account: Go to the Heroku website and create a new account if you don’t already have one.
-
Install the Heroku CLI: Download and install the Heroku Command Line Interface (CLI) tool for your operating system. The CLI allows you to interact with Heroku from the command line.
-
Prepare your app for deployment: Make sure your app is ready for deployment by ensuring all necessary dependencies and configuration files are in place. This includes setting up a Procfile that specifies how to run your app a requirements.txt file and also a env file.
-
Initialize a Git repository: If your app is not already using Git for version control, initialize a new Git repository in the root directory of your app.
-
Log in to Heroku from the CLI: Open a terminal or command prompt, and log in to Heroku by running the command heroku login. Follow the prompts to enter your Heroku account credentials.
-
Push your code to Heroku: Use the command git push heroku main to deploy your code to Heroku. This will upload your app’s code and dependencies to Heroku’s servers.
-
Set up environment variables (optional): If your app relies on environment variables for configuration, you can set them using the Heroku CLI. Run heroku config:set VARIABLE_NAME=variable_value for each environment variable you need to set.
Open your app in the browser: Go to setting in Heroku and you’ll find a link to your page to see your deployed app there.
Local Development
How to Fork
To fork the Secret Chef repository:
- Log in (or sign up) to Github.
- Go to the repository for this project, ohdamnitsnikki/Secret Chef.
- Click the Fork button in the top right corner.
How to Clone
To clone the Secret Chef repository:
- Log in (or sign up) to GitHub.
- Go to the repository for this project, ohdamnitsnikki/Secret Chef.
- Click on the code button, select whether you would like to clone with HTTPS, SSH or GitHub CLI and copy the link shown.
- Open the terminal in your code editor and change the current working directory to the location you want to use for the cloned directory.
- Type ‘git clone’ into the terminal and then paste the link you copied in step 3. Press enter.
Testing
To view the full testing visit TESTING.md
Credits
- The template is taken from Code Institute
- For help during these projects I’ve used my mentor, the tutors and the I think therfore I blog walkthrough project.
- The form for registration, sign in and sign out is completely built with djangos premade forms. Also the blog posts html code is from the walkthrough project. I’ve just added in some colours to make it fit my page since the content already looked so good. That also goes for the comment content and comment form.
- To get inspired about box-shadows and subsribe button I’ve used W3School
- To understand how to style img in readme file I’ve used code from SeanCDavid